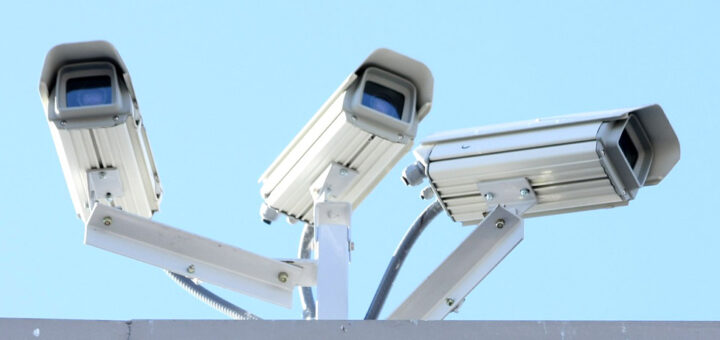
Understanding Security Cameras at Casino Clubs
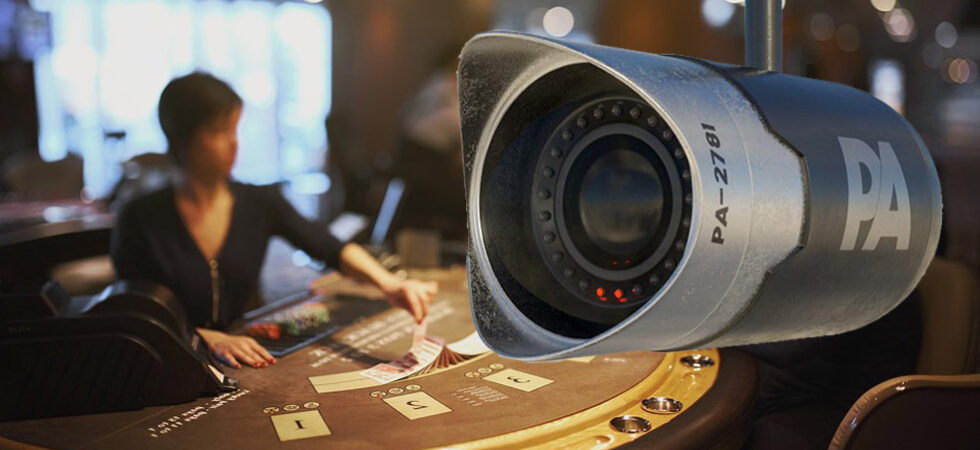
Casino clubs must have necessary cameras fitted all around the club areas. As it is a tale that where there is money there is theft. Casino owners must know the importance of having security...

Casino clubs must have necessary cameras fitted all around the club areas. As it is a tale that where there is money there is theft. Casino owners must know the importance of having security...
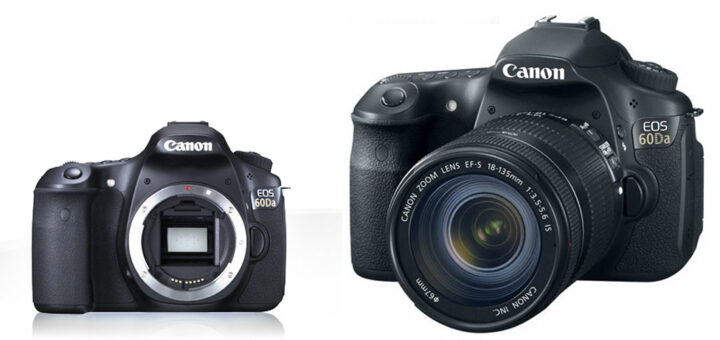
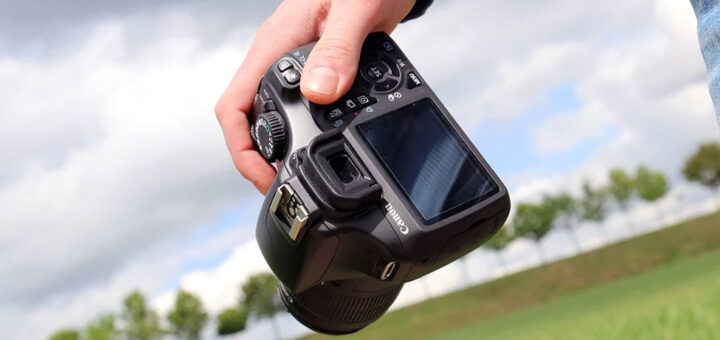
About Astrophotography Those who are interested in astrophotography, you need to understand the camera lens and its features. There are many advanced featured camera types. But you’ll get confused which to buy and which...
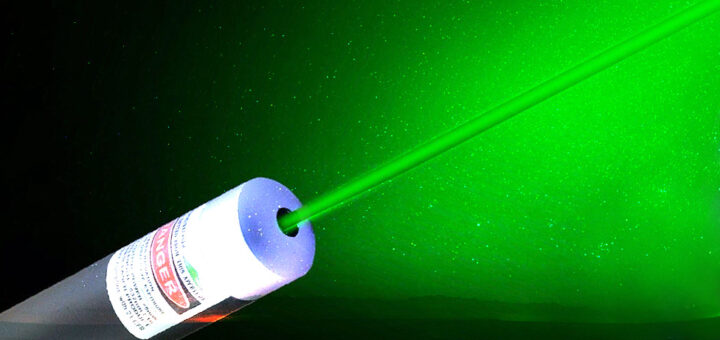
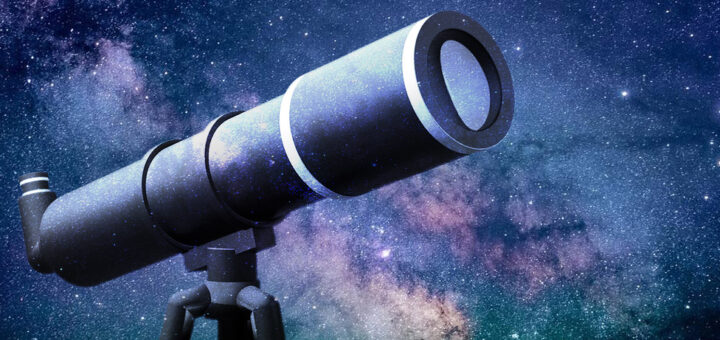
Laser Pointer Technology Laser Pointer is a small pen-like equipment use to produce a monochromatic light in space at night to research constellations. This equipment consists of a high power source like a battery...
According to your home or business requirements you can search for the best security camera. There are many variations in camera types and different features to it. Situation specific cameras are always good to...
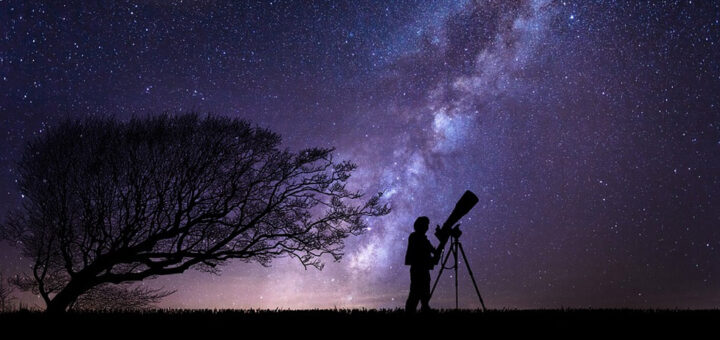
Hobbyist glanced through the window around evening time and ended up gazing at the universe, considering what is up there? This has been an exceptionally normal inquiry among individuals since forever ago, since progress...
About Digital Era In the digital era, different variations and features of cameras lure the public. From youngsters to old aged people, it feels good when they pose in front of the camera for...
About stargazers and astrophotographers The interest for stargazing starts from one’s childhood itself. The early practice of stargazing ultimately transforms into becoming an astrophysicist or astrophotographer. Such people have the urge to discover something...